While troubleshooting a vCenter issue, I needed to replicate an environment where the vCenter Server had no internet access. This scenario is often seen in production but can be tricky to reproduce in a lab. This post will outline how I solved the issue quickly using incorrect default gateways and static routes.
Configure vCenter for No Internet Access
I deployed a new vCenter Server, using normal processes & correct networking settings. The resulting vCenter could reach the internet.
From the virtual appliance management interface (VAMI, port 5480), I selected the Networking option in the left navigation. From there I clicked the ‘Edit’ button in the top right pane. This VCSA only has one physical adapter, so I selected ‘Next’ and changed the IPv4 gateway on the second page to 192.168.0.2. In my lab, this is an unused IP address — the default gateway is actually 192.168.10.1.
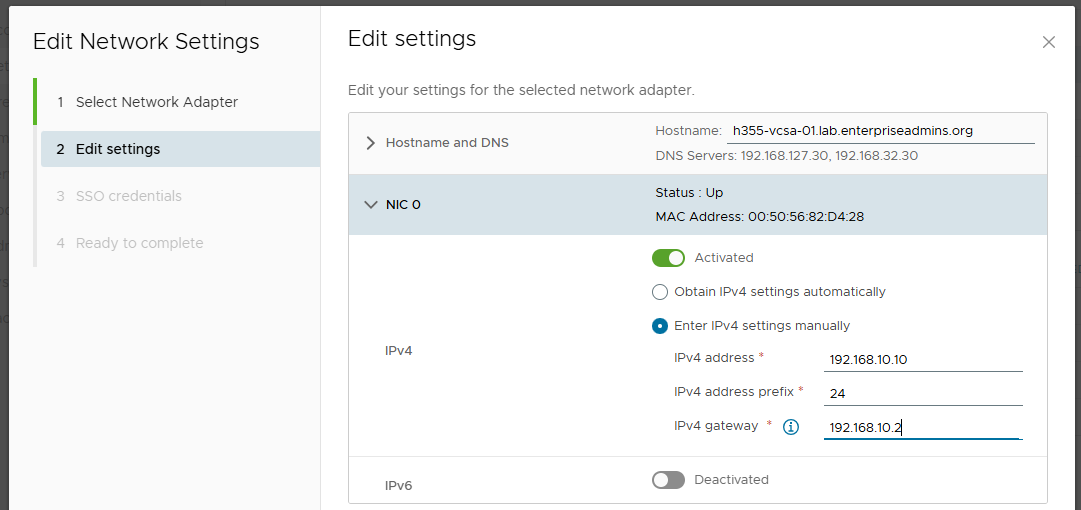
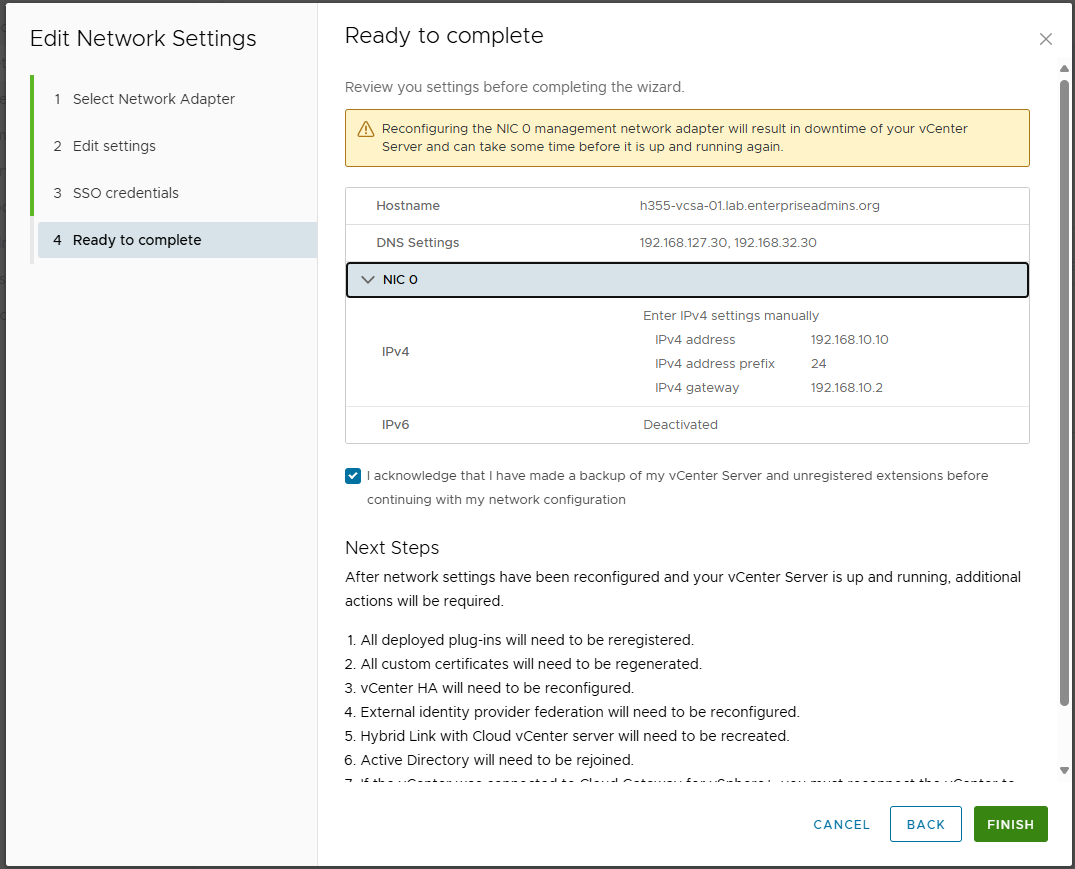
I then continued through the workflow and acknowledged that I was ready to continue.
After making this change, I could ping the vCenter from the local subnet, but not from my admin workstation, which was the expected behavior.
I then modified the /etc/systemd/network/10-eth0.network file to append the following text:
[Route]
Gateway=192.168.10.1
Destination=192.168.0.0/16
This adds a static route so the vCenter Server now knows how to route to all devices, but only in my labs 192.168.0.0/16 network. To make this effective, I ran the following command:
systemctl restart systemd-networkd.serviceAfter restarting networkd, I was able to ping the vCenter from both the local subnet and my admin workstation. However, from the vCenter I was unable to ping non-192.168.x.x addresses. This was the ideal configuration for my specific test.
Restricting Internet Access on a Windows Jump Host
Preventing the vCenter Server from reaching the internet was exactly what I needed. However, I decided to also setup a Windows Server based jump host to connect to this vCenter & I wanted it to be restricted from accessing the internet as well. I used the same process, but in Windows was able to save the configuration without a default gateway provided. To create a persistent static route, I used the following command:
route -P add 192.168.0.0/16 mask 255.255.255.0 192.168.10.1 metric 1With this route defined, the jump host was able to reach internal addresses but not external addresses.
Adding Selective Internet Access with a Proxy
After blocking all the internet access, there were a few domains that I wished I had access to. To solve this I deployed an Ubuntu Linux VM and turned it into a proxy server by installing one package:
sudo apt install tinyproxyI selected tinyproxy as it is lightweight, simple, and required minimal config. I edited the /etc/tinyproxy/tinyproxy.conf file, removing a few comments to enable the following settings:
Allow 192.168.0.0/16
Filter "/etc/tinyproxy/filter"
FilterDefaultDeny Yes
This allows the proxy server to listen for all devices in my lab, enables domain level filtering, and denies all requests by default. This allows me to selectively enable specific domains as needed and have logging to know which domains are attempted to be contacted. I can allow a domain by adding it to the /etc/tinyproxy/filter file and the restarting services with sudo service tinyproxy restart. To review which domains are attempted to be contacted, I just run the command:
sudo tail -f /var/log/tinyproxy/tinyproxy.logI can configure the jump box or vCenter server to use this proxy by specifying its IP address and the default proxy port of 8888 (configurable in the tinyproxy.conf file).
Conclusion
This setup provided a flexible way to test how vCenter and supporting systems behave in restricted environments. By combining static routes with a filtered proxy, I could mimic a realistic enterprise scenario where internet access is tightly controlled—without losing the ability to selectively allow required domains.