Validity periods for SSL certificates keep shrinking, requiring more frequent certificate replacements. Something that once only needed done every 3 or so years is now required every year. With these increased demands it is common to want to automate this task. This article will show how to request and replace a vCenter Server certificate using a vSphere API and PowerCLI.
Background
Before we start replacing certificates it is important to understand the various options available for managing vSphere certificates. In this article I’ll be focusing on automating the steps for the Hybrid Mode, where we only replace the certificate used by vCenter Server, and we let the default configuration of VMCA handle all the ESXi hosts. The various options are well documented here: https://blogs.vmware.com/vsphere/2020/04/vsphere-7-certificate-management.html.
The GUI Way
Now that we know which certificate replacement method we want to use, we’ll first explore how to complete this certificate replacement in the HTML5 UI. We’ll navigate to vSphere Client > Administration > Certificates > Certificate Management. From here we can see the existing Machine_Cert that is used, which expires in November 2023.

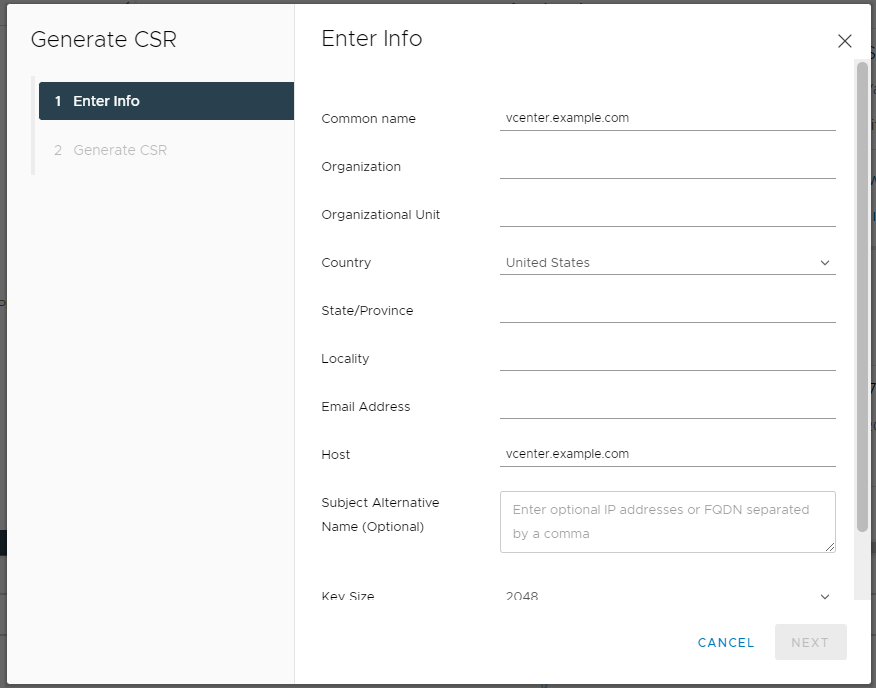
In this tile with our certificate detail, we see an Actions drop down, which contains choices to Renew, Import and Replace Certificate, and Generate Certificate Signing Request (CSR). When I do this in the HTML5 UI, it is typically two steps. First, I create a CSR, which prompts me to enter information about the certificate I’d like to request.
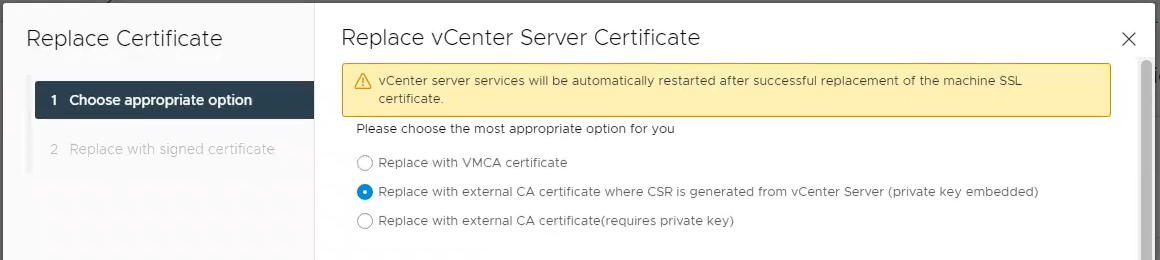
Once this is complete, I’m provided with a long string of text (the CSR) which I need to send to my certificate management / crypto folks for processing. They will return a certificate to me. You may have noticed I do not see the private key at any point during this process — this is because vCenter keeps this information private. Once I have my certificate, I can go back to the tile and provide the certificate files — the private key is already there.

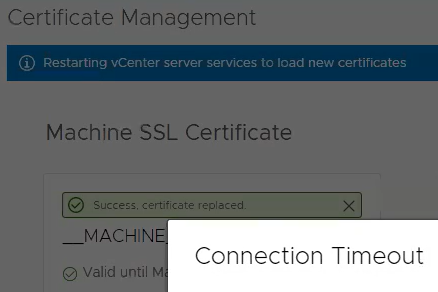
It can take some time for services to restart, but I should have another year before I need to replace this certificate again.
This was very straight forward in the UI, the next steps will cover doing the same process using the vSphere API.
Automating the Certificate Signing Request
When browsing vSphere Client > Developer Center > API Explorer, I see two interesting headings under the vcenter API endpoint we can see an entry for certificate_management/vcenter/tls_csr. The description states “Generates a CSR with the given Spec.” If we connect to the vSphere Automation SDK server with Connect-CisServer, we can get this specific service and create the spec. From there, we can populate all the fields and then create our new CSR. Here is a code block showing all these steps with some dummy data.
Connect-CisServer vcenter.example.com
$tlsCSR = Get-CisService -Name com.vmware.vcenter.certificate_management.vcenter.tls_csr
$tlscsrSpec = $tlscsr.Help.create.spec.Create()

$tlscsrSpec.key_size = 2048
$tlscsrSpec.common_name = 'vcenter.example.com'
$tlscsrSpec.organization = 'Example'
$tlscsrSpec.organization_unit = 'Testing'
$tlscsrSpec.locality = 'Greenfield'
$tlscsrSpec.state_or_province = 'Indiana'
$tlscsrSpec.country = 'US'
$tlscsrSpec.email_address = 'vi-admin@example.com'
$tlscsrSpec.subject_alt_name = "vcenter"

$tlsCSR.create($tlscsrSpec).csr
Requesting the Certificate
As in the section where we discussed using the GUI, we now need to provide our CSR to the certificate management folks / crypto team. They are typically responsible for requesting/creating certificates. Depending on the Certificate Authority in use, this step could also be automated, but it is outside the scope of this article.
Replacing the Certificate
Once we have our certificate, in my case a pair of cer files (one for my vCenter Server and one for the root cert of the CA), we can return to our PowerCLI window. I was able to quickly request/approve a new certificate and my PowerCLI session was still open so I didn’t need to use Connect-CisServer again, however you may need to reconnect days later, thats no problem and will work fine. I used Get-Content to read in the two cer files, but by default that reads line by line. Therefore, I used -join to put each line into a single variable, and for good measure removed any leading/trailing spaces with .trim() as I’ve seen that cause issues with certificates in the past. I then used the certificate_management/vcenter/tls service and created the sample specification. This results in a new object being created where cert is required and the other properties (key and root_cert) are optional. For my case I specified just the cert and root_cert since my CSR was generated/stored by the vCenter Server Appliance already.
$cert = ( (Get-Content .\certnew-vcsa-api.cer)  -join "`n").trim()
$rootcert = ( (Get-Content .\certnew-ca.cer) -join "`n").trim()

$tls = Get-CisService -Name com.vmware.vcenter.certificate_management.vcenter.tls
$setTls = $tls.Help.set.spec.Create()

$setTls.cert = $cert
$setTls.root_cert = $rootcert

$tls.set($setTls)
After running that $tls.set method on the last line of the code block above, vCenter services automatically restart, just like in the UI example.
Conclusion
This article shows how similar the HTML5 UI is to these specific APIs for certificate replacement. I hope this helps you automate this repeatable task.