In my home lab I have a container running Nginx Proxy Manager (discussed in this previous post). This proxy allows for friendlier host names and SSL for various services in the lab. Using a wildcard DNS record and wildcard SSL certificates makes for a super easy way to onboard new services.
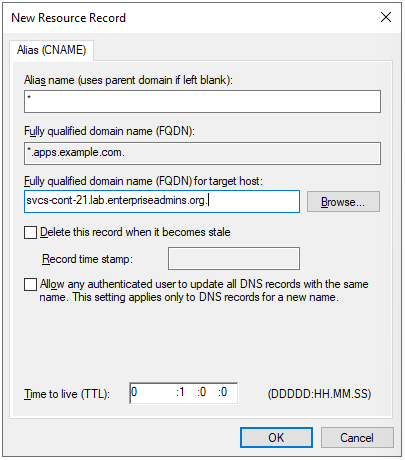
To get started, I first needed to pick a parent domain name to use for services. I already have a DNS zone for example.com so I decided to put these services under apps.example.com. To make this super easy to manage, I created a new domain under example.com with the name apps. It has a single CNAME record of asterisk (*) and the FQDN points to the host name of my container host. Screenshot of the DNS record from my Windows DNS server below:
I then created a wildcard certificate for *.apps.example.com from my internal CA. There are many ways to create a certificate signing request (CSR), but since I have a lot of Aria Suite products in the lab, I like using the Aria Suite Lifecycle > Locker > Certificates > Generate CSR button. This gives me a UI to populate the fields and kicks out a single file with both the CSR & private key. I use the CSR to generate a web server certificate from my internal CA, then download the base64 certificate. I edit the resulting .cer file and append my CAs public key to create a proper chain. Now that I have a certificate and private key, I can move into the Nginx Proxy Manager UI.
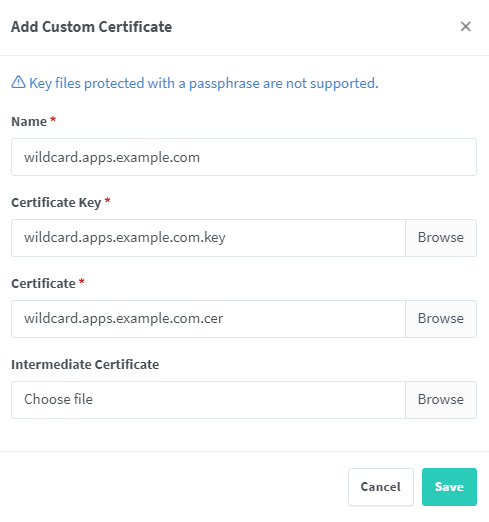
From the Nginx Proxy Manager UI, I select the SSL Certificates tab. I add a new SSL certificate and populate the required fields, screenshot below:
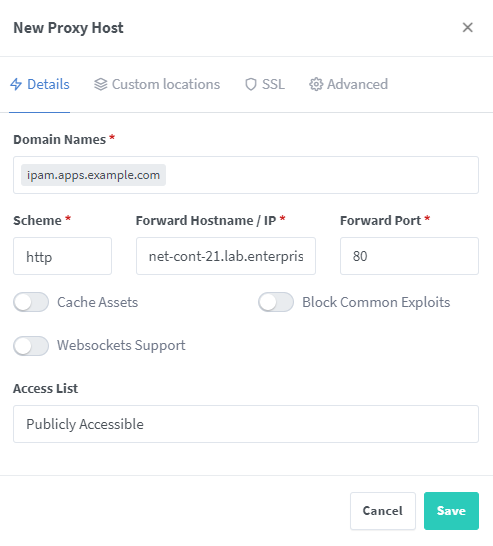
When I go to the Hosts > Proxy hosts tab I can now very easily add hosts with SSL capabilities. I no longer need to make a certificate for each service or even manually create DNS records. For example, lets say my internal IPAM solution needs a certificate. Instead of creating a ‘friendly’ DNS record and dedicated certificate, I can use this Nginx Proxy and wildcard certificate. We can simply add a new proxy host, enter a domain name such as ipam.apps.example.com, enter the correct host/port details, and select the correct certificate.
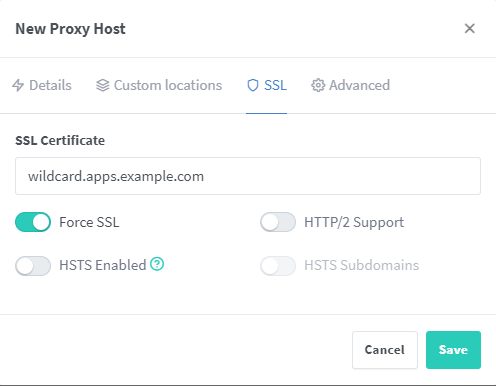
On the SSL tab of the new host we can pick our wildcard.apps.example.com certificate and select force SSL.
Now when I browse to http://ipam.apps.example.com/, I’m automatically redirected to the secure version of the site:
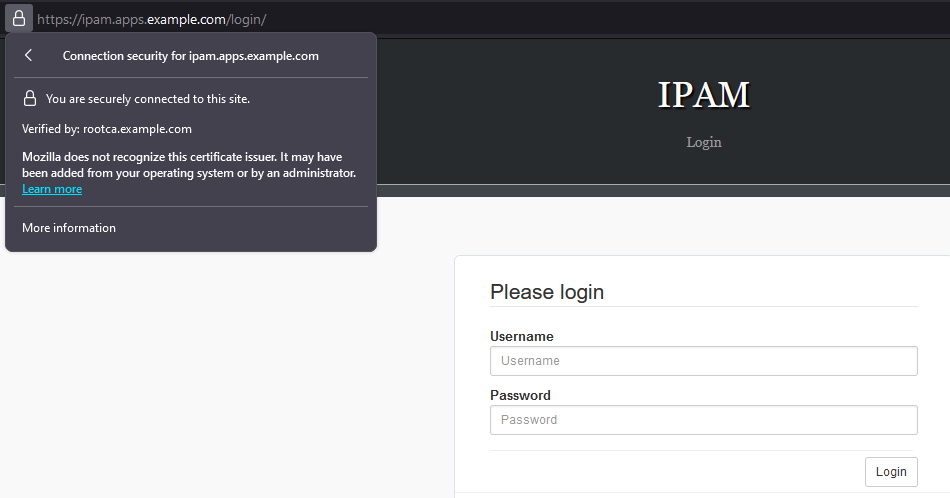
This does inject a new dependency — the Nginx Proxy Manager container needs to be running for me to reach these secure services — but in this case the container is running on a host that is typically online/working.